


Flatback & Cartilage Friendly Earrings 101
Flatback & Cartilage Friendly Earrings 101
At Adorn512 we aim to deliver the best ear-piercing and buying experience, and that starts with clear communication. That's why we created this guide to help you learn the lingo, explore earring options, and visualize your dream ear stack - all while feeling safe, comfortable & confident.
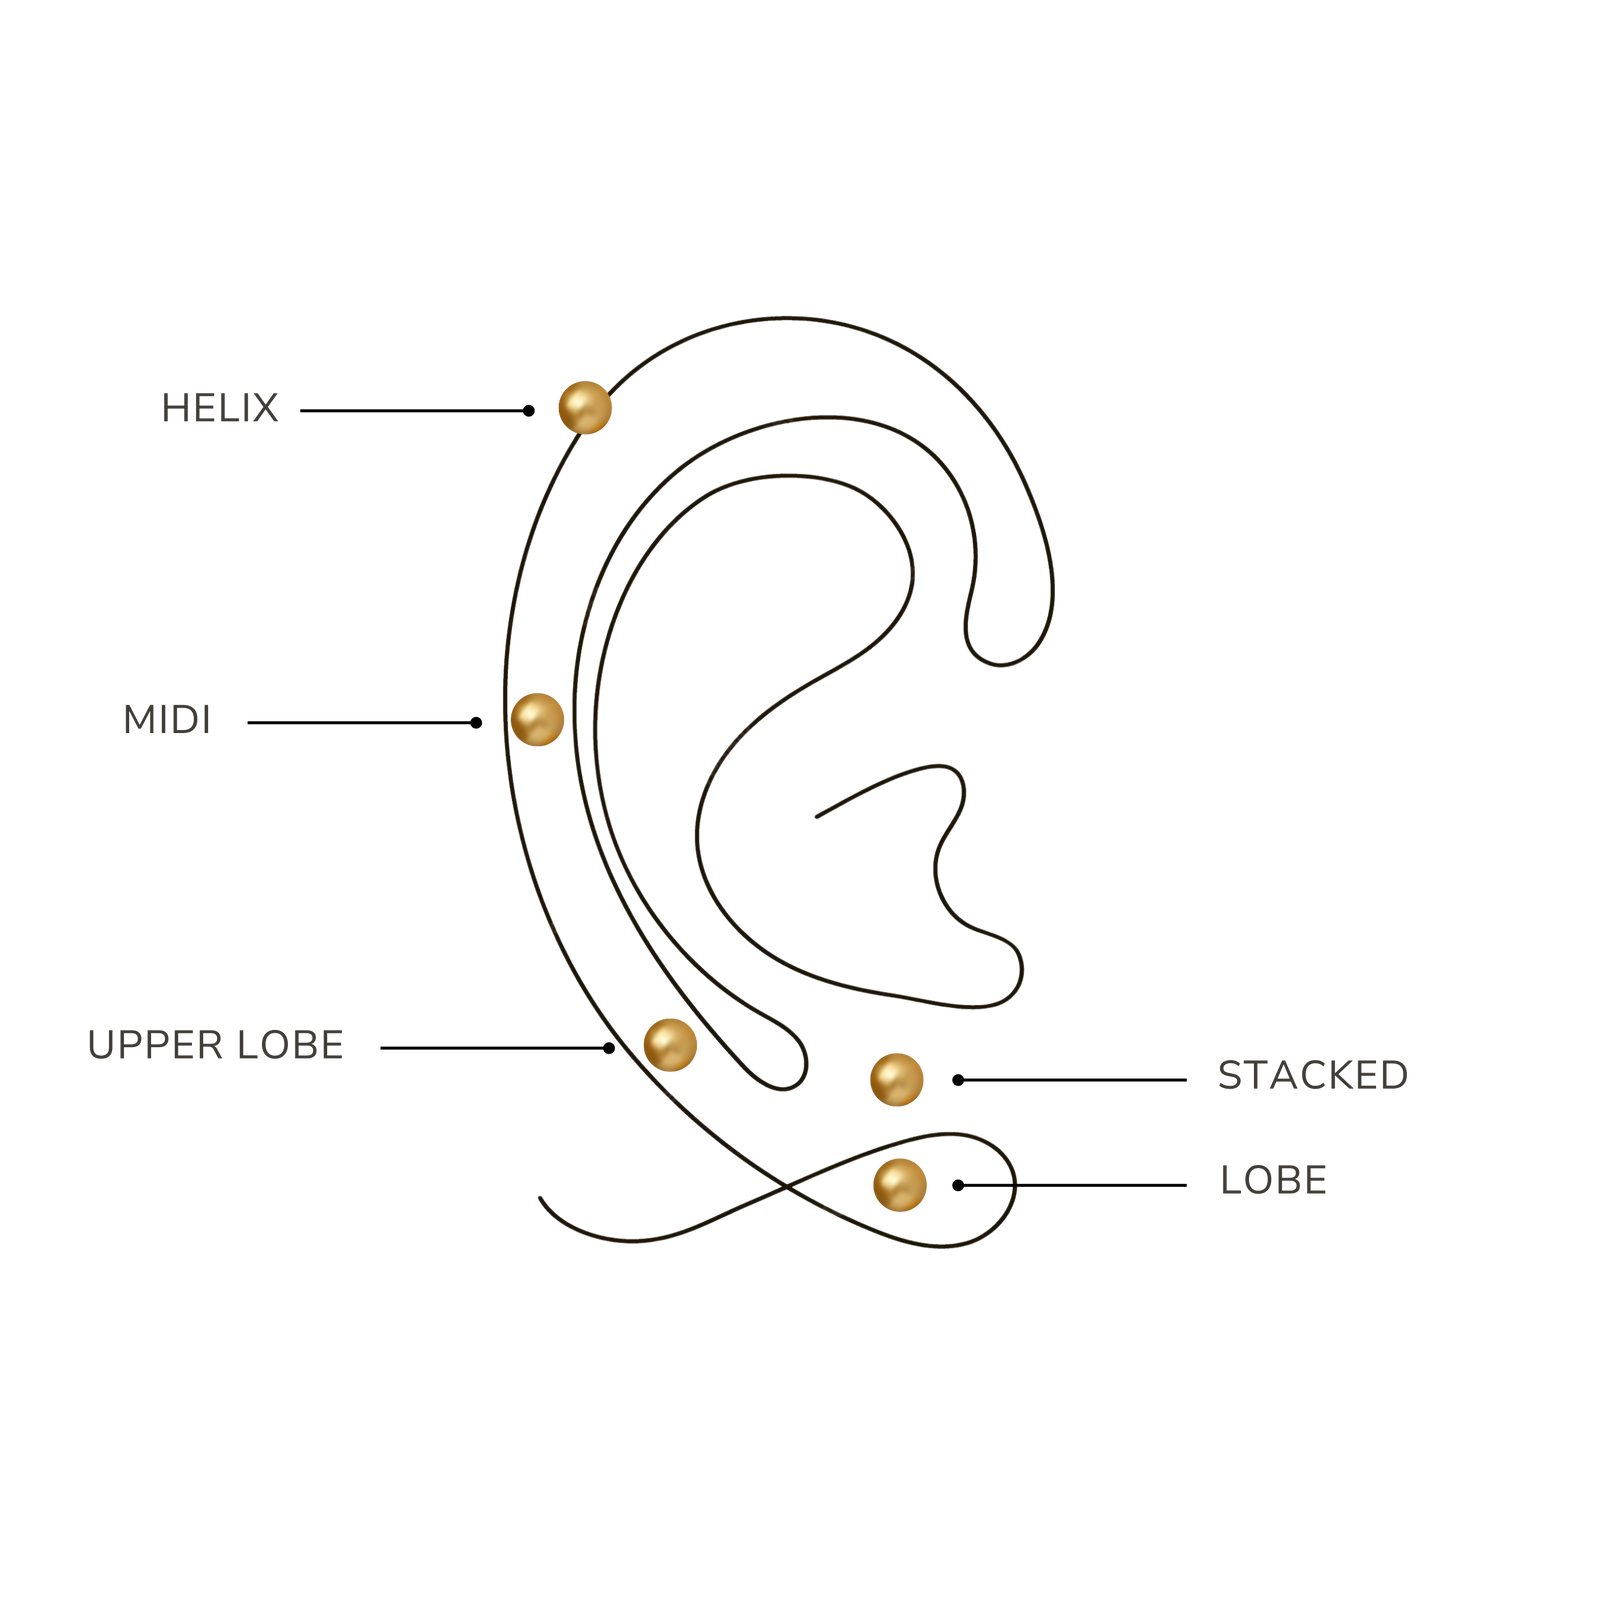
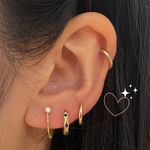
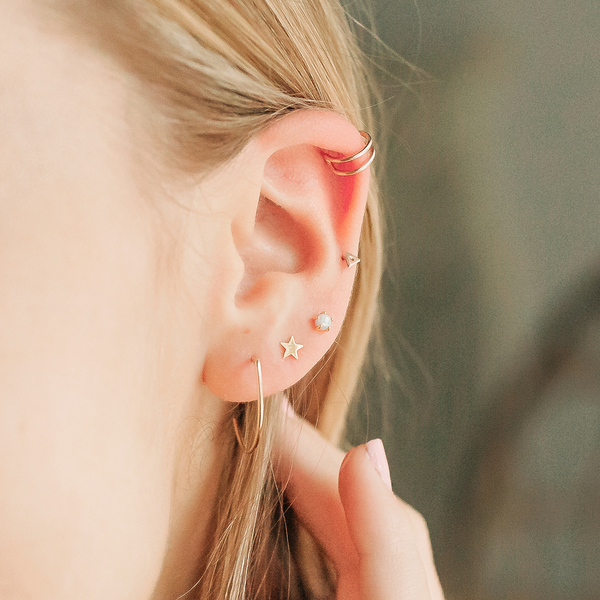
Here are some popular locations for flatback studs and cartilage friendly hoops.
FORWARD HELIX:
The forward helix is a small but mighty piercing (if we do say so ourselves!). It's located on the small piece of skin located just above the tragus.
HELIX:
The helix is located on the inside ridge of the upper ear between the forward helix and the midi. This piercing opens up numerous pretty possibilities for styling.
MIDI:
Located above the midpoint of the outer ear, we love this cartilage piercing for its versatility - it can be subtle or statement-making, depending on how you style it.
STACKED LOBE:
A stacked lobe is one of the most popular new piercing placements. Located on the fleshy part of the ear lobe but stacked above or in between regular lobe ear piercings.
LOBE:
The OG piercing. The lobe is the fleshy part of the ear, where most of us get our first piercings.
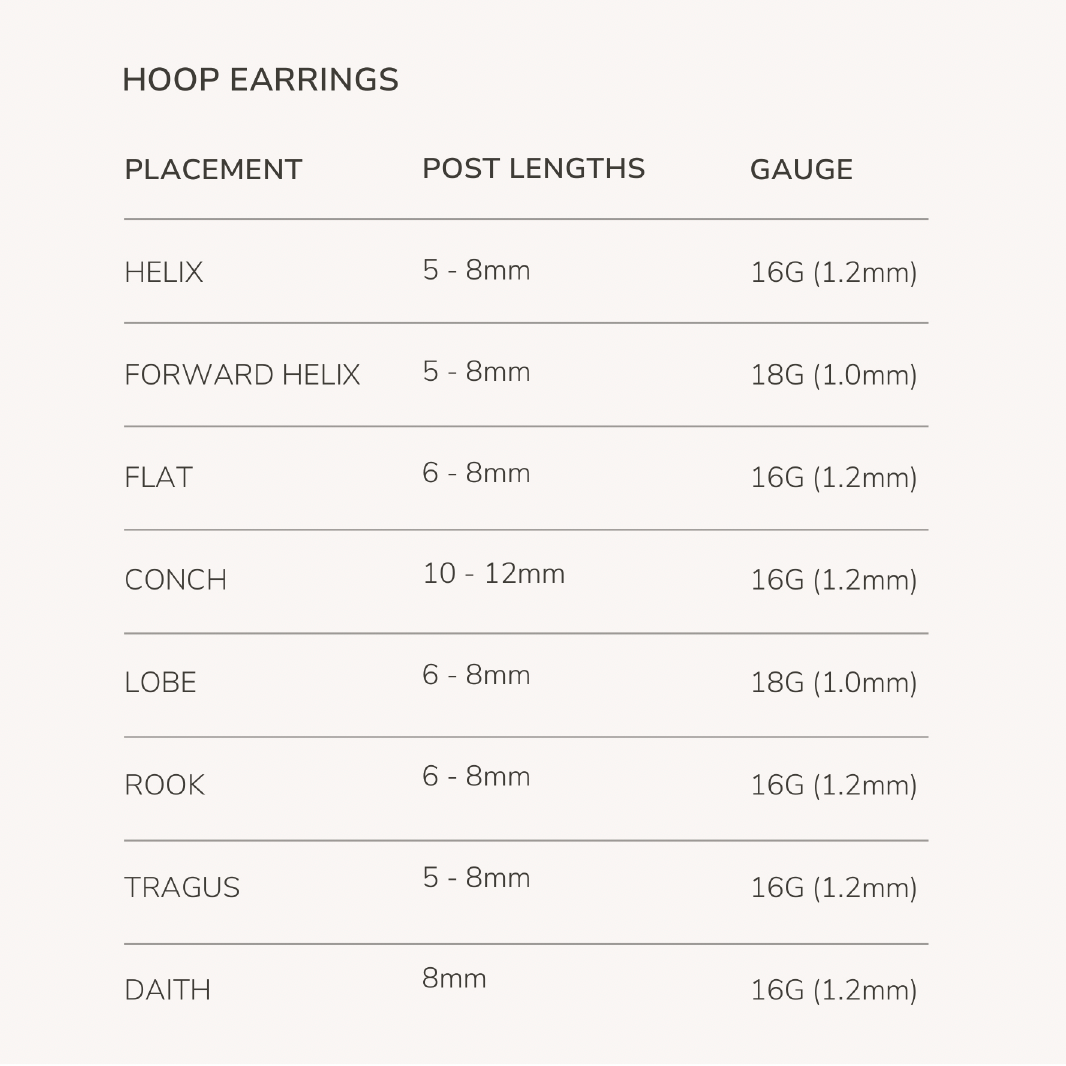
We use a combination of gauge and millimeter measurements alongside an extensive sizing guide to help you find your perfect fit.
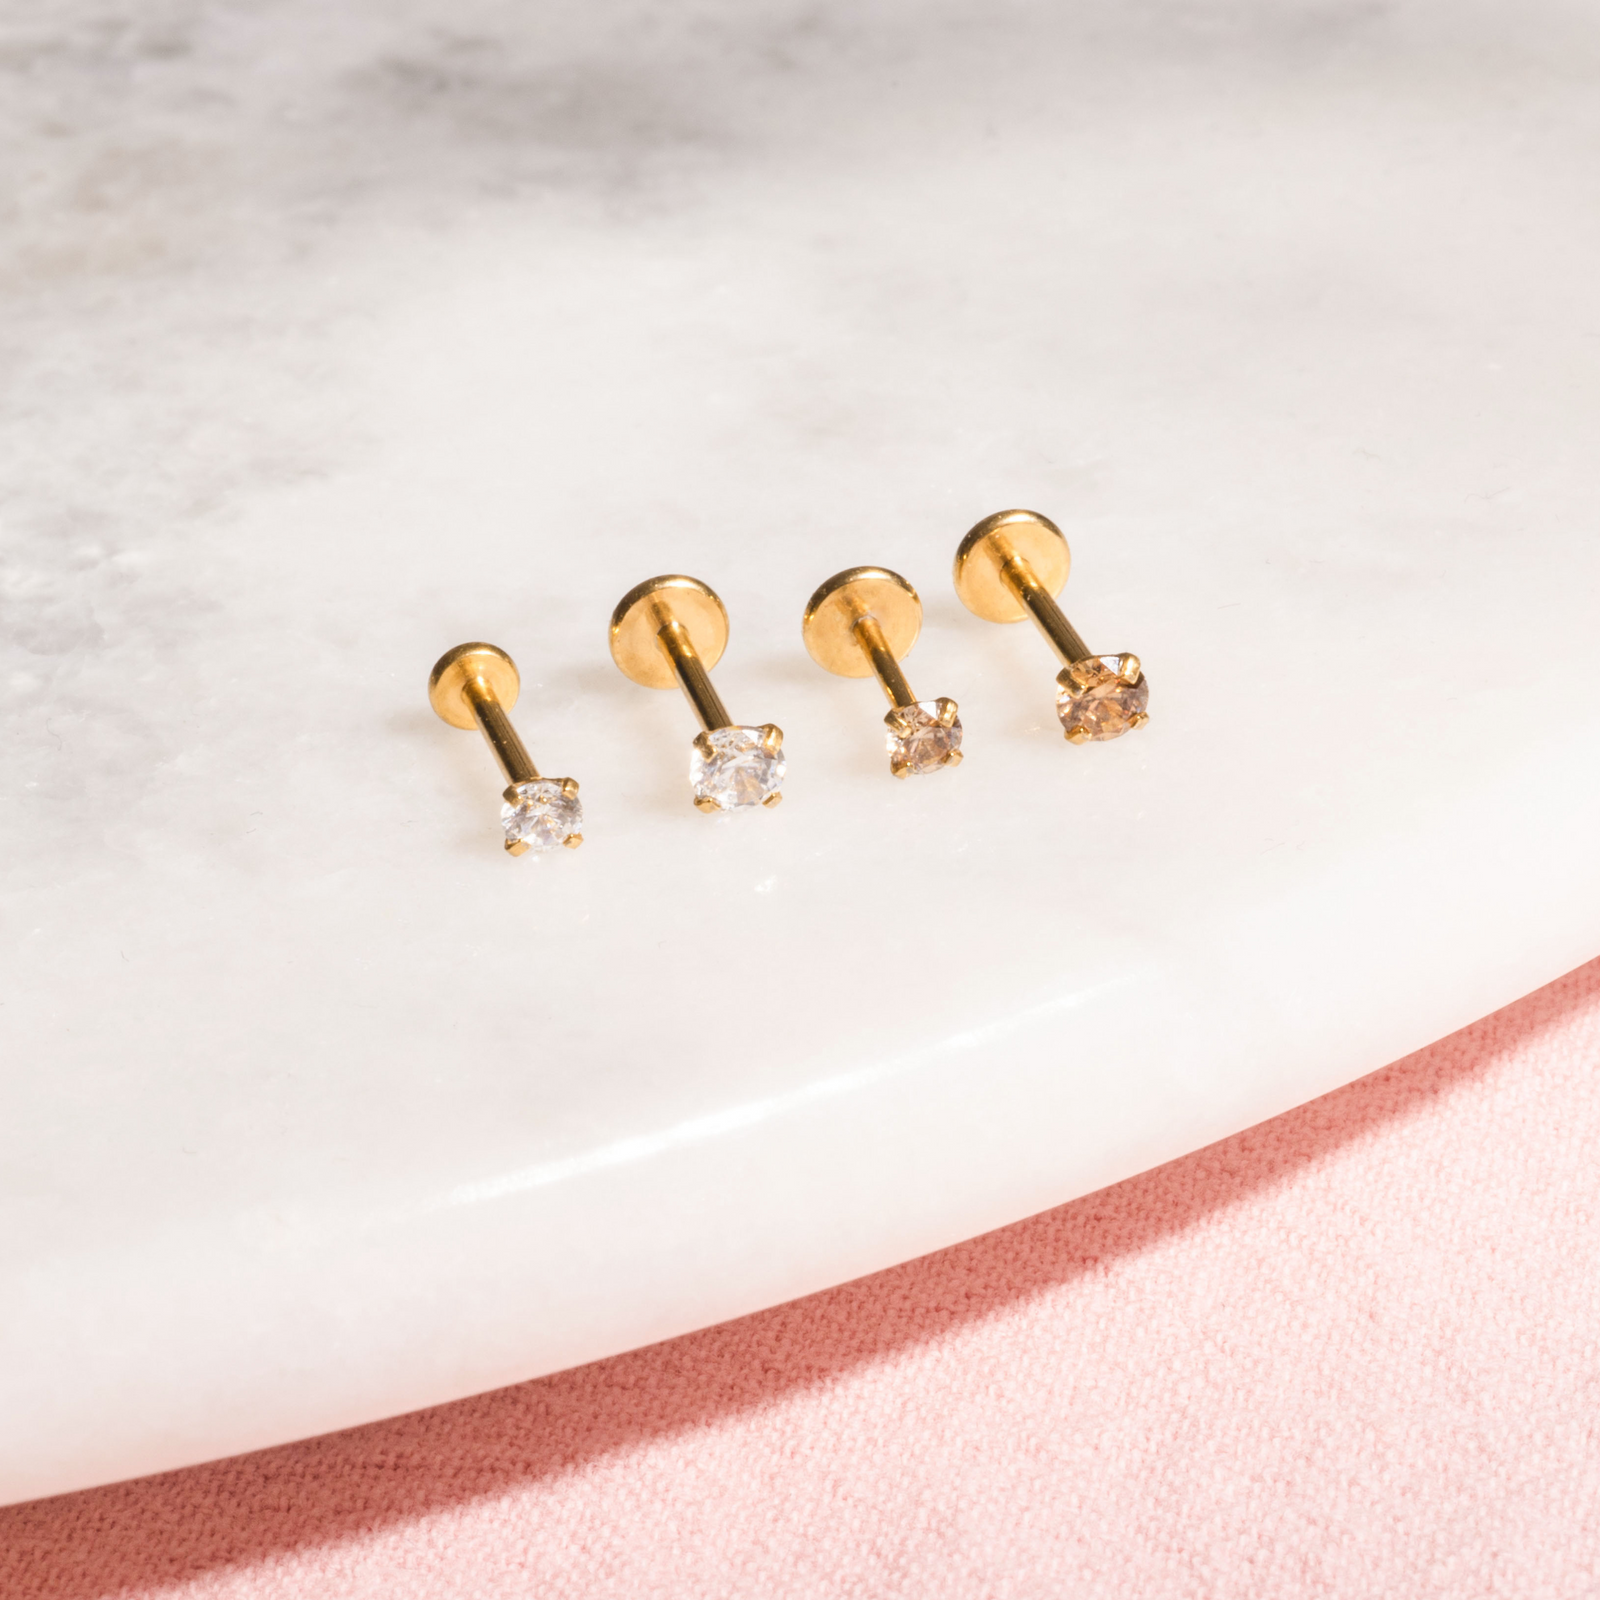
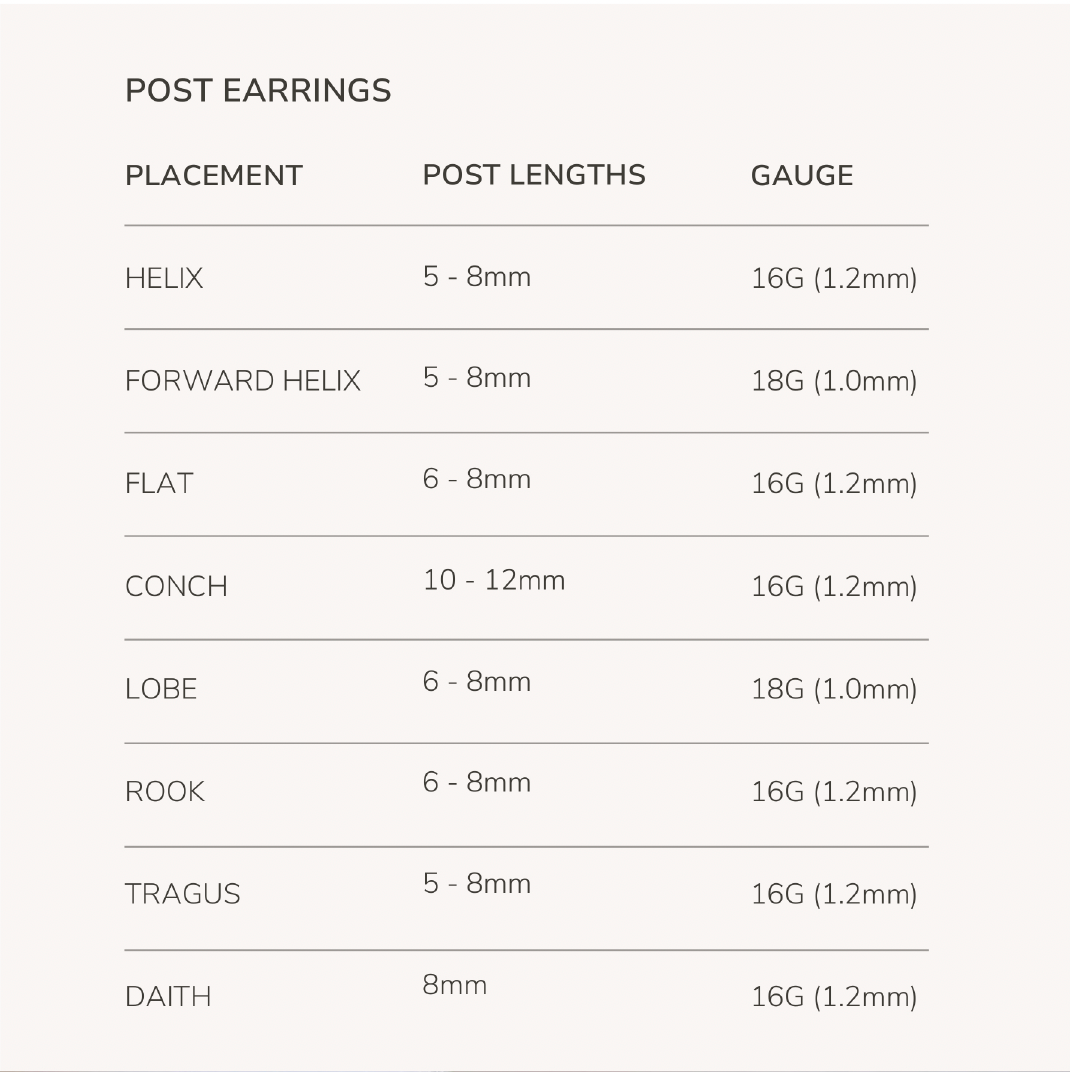
The ideal fit for your piercing comes down to three main specifications: length, gauge thickness, and diameter.
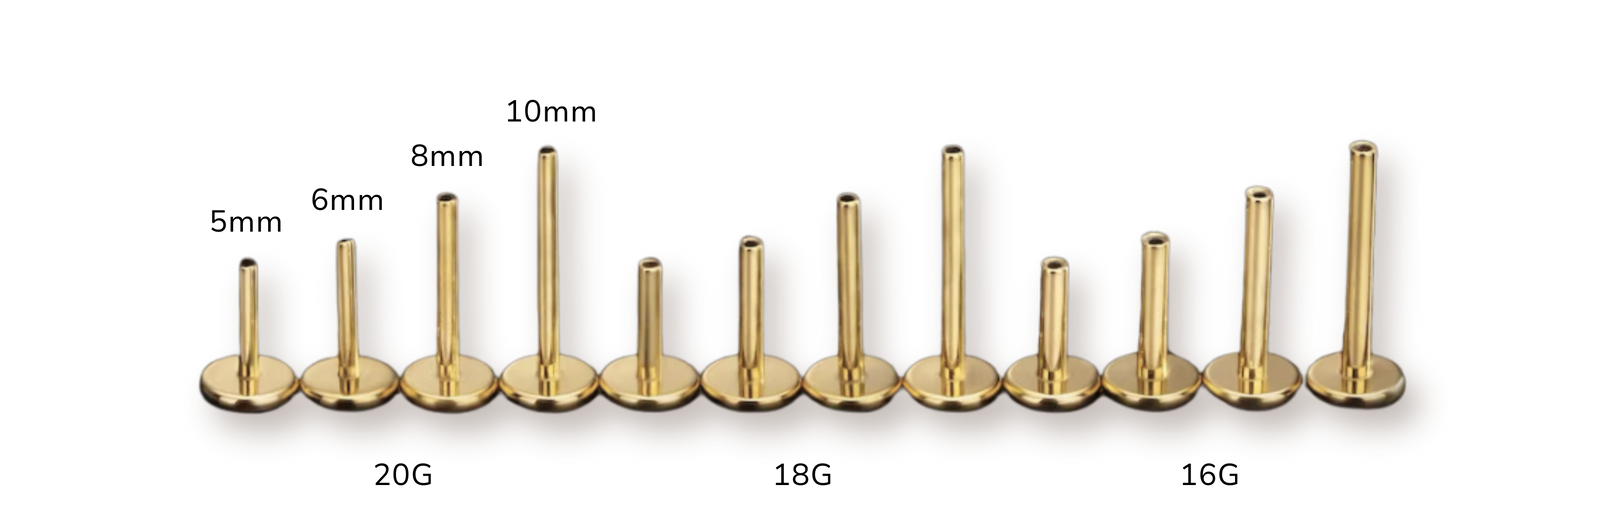
The length (mm) is the measurement of the earring post itself. In other words, it's the part of the piercing jewelry that goes through the earhole.
Thee gauge refers to the thickness of the post that will go through the earhole. When piercing with a needle, the needle gauge is the same gauge as the piercing jewelry. The gauge thickness will depend on which type of piercing you choose.
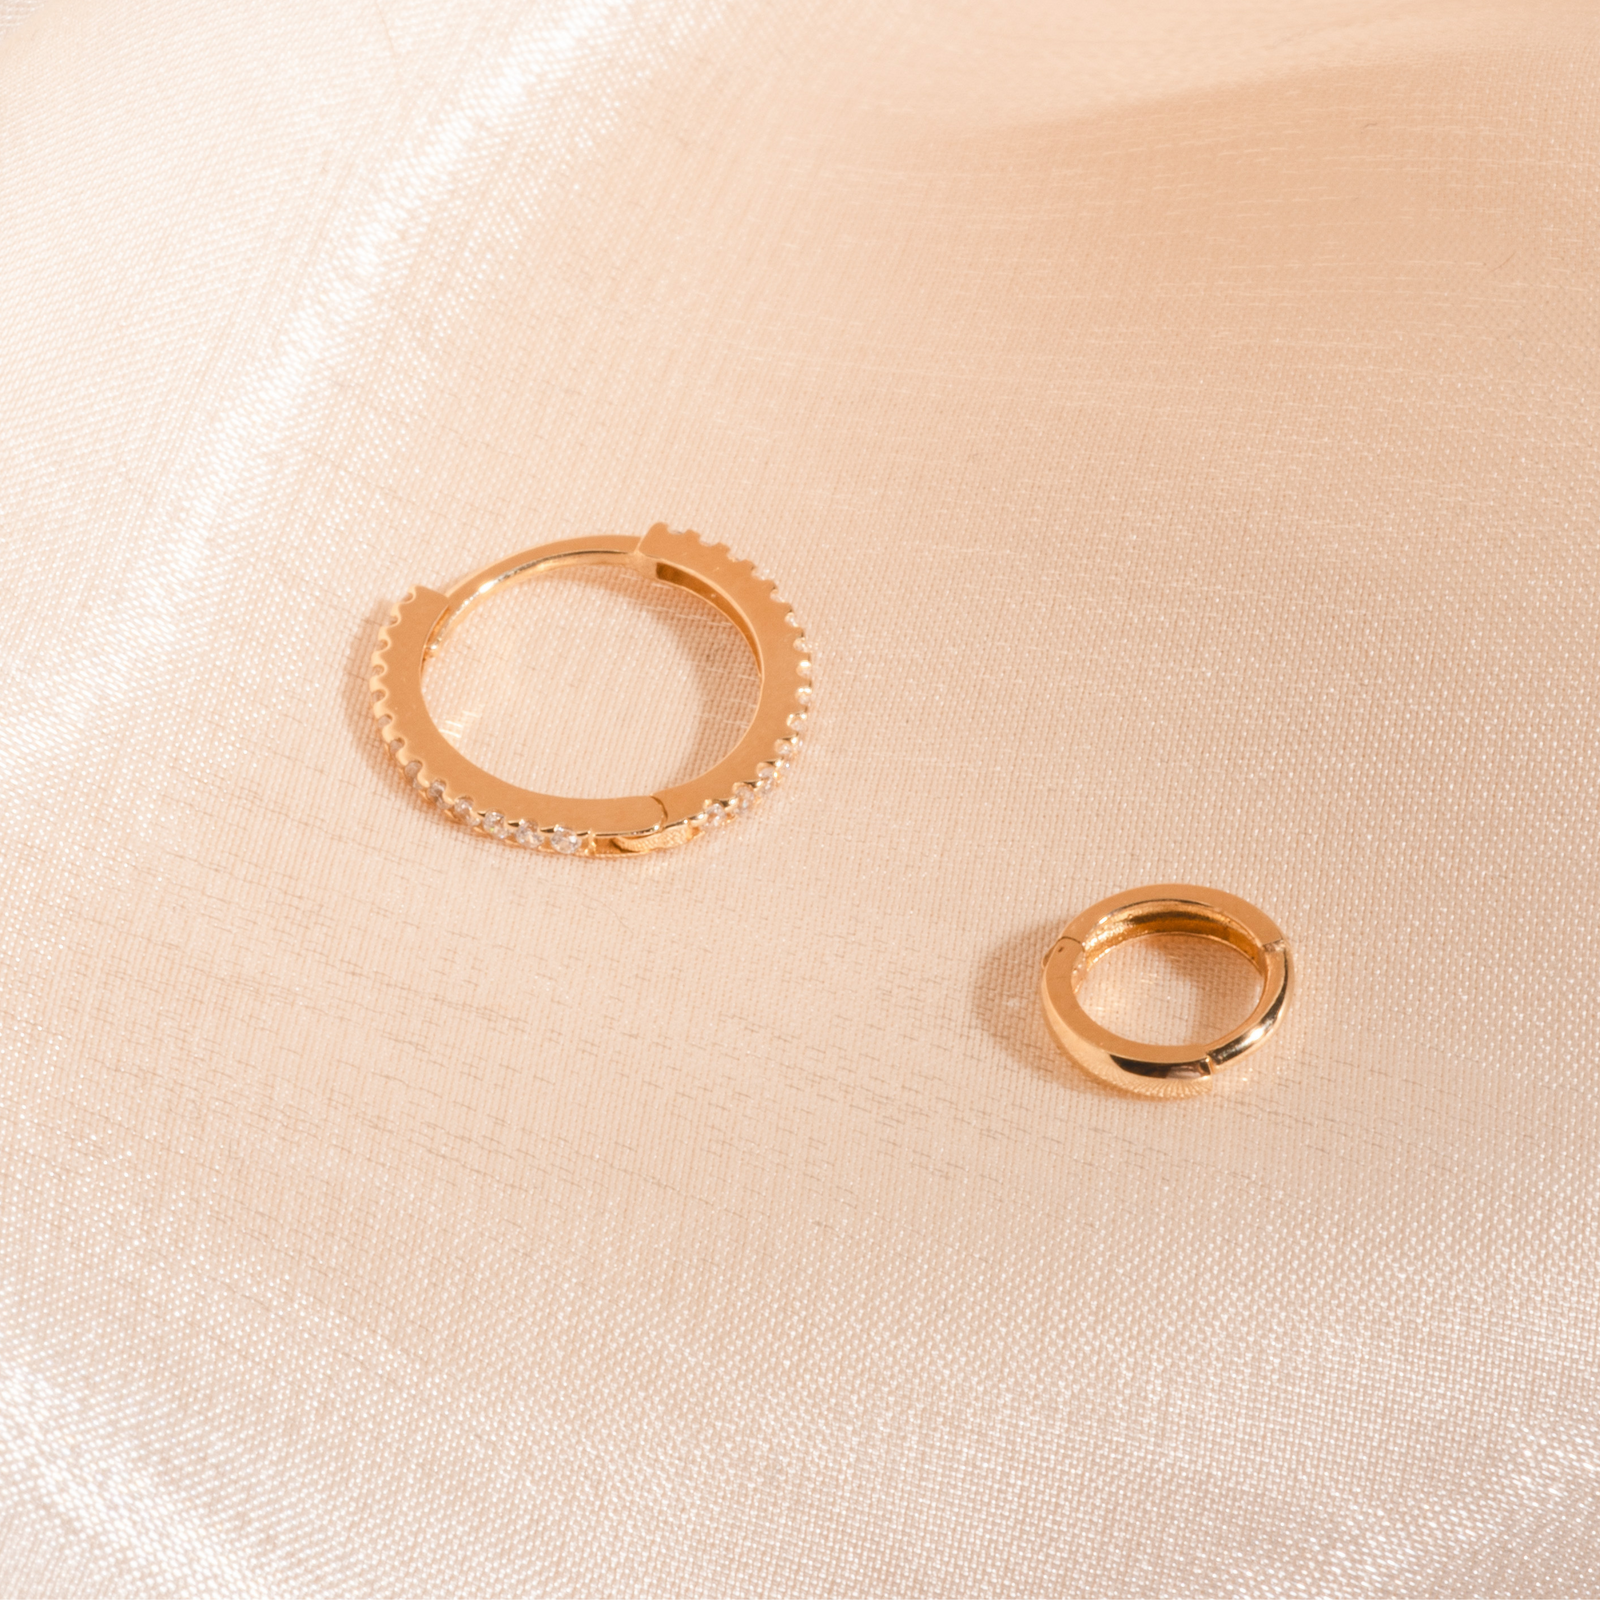
The diameter refers to the measurement between the inner edges of a hoop or ring. Smaller diameters correspond with smaller piercing areas, while larger diameters would suit areas like the Conch piercing, for example.
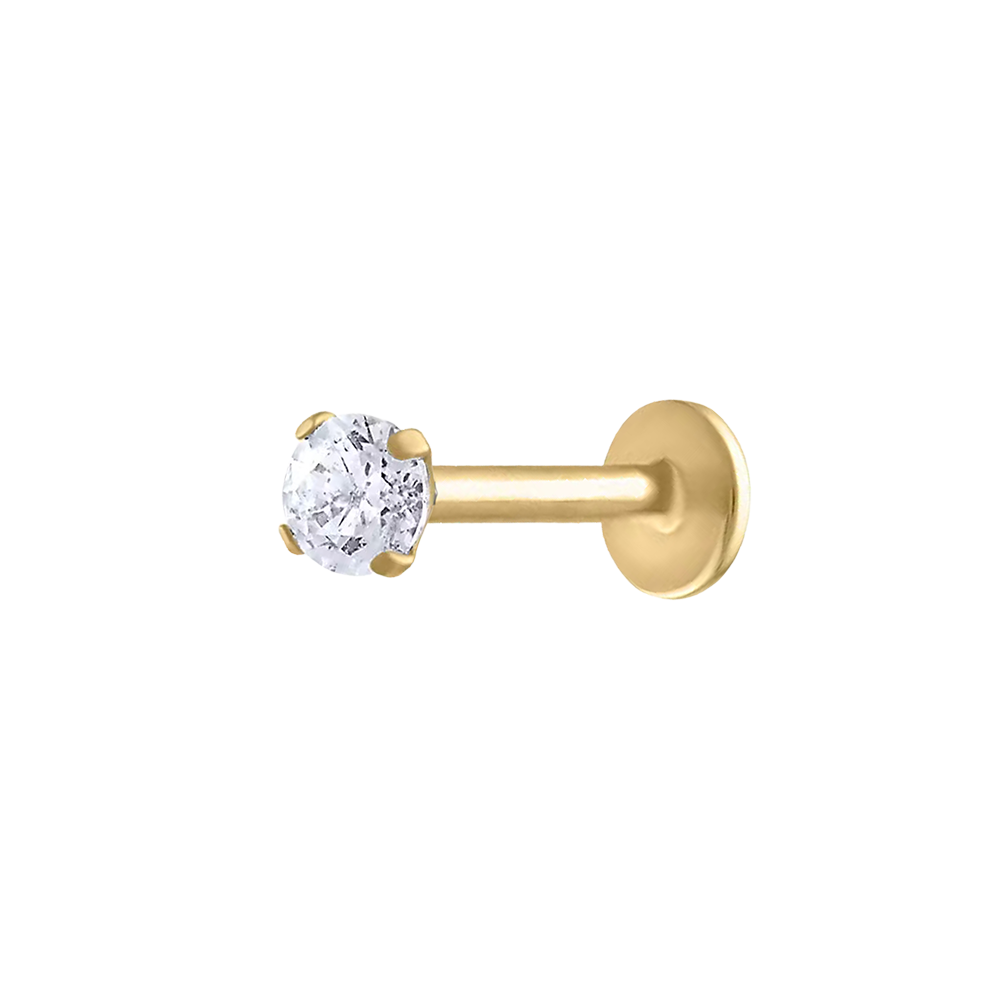
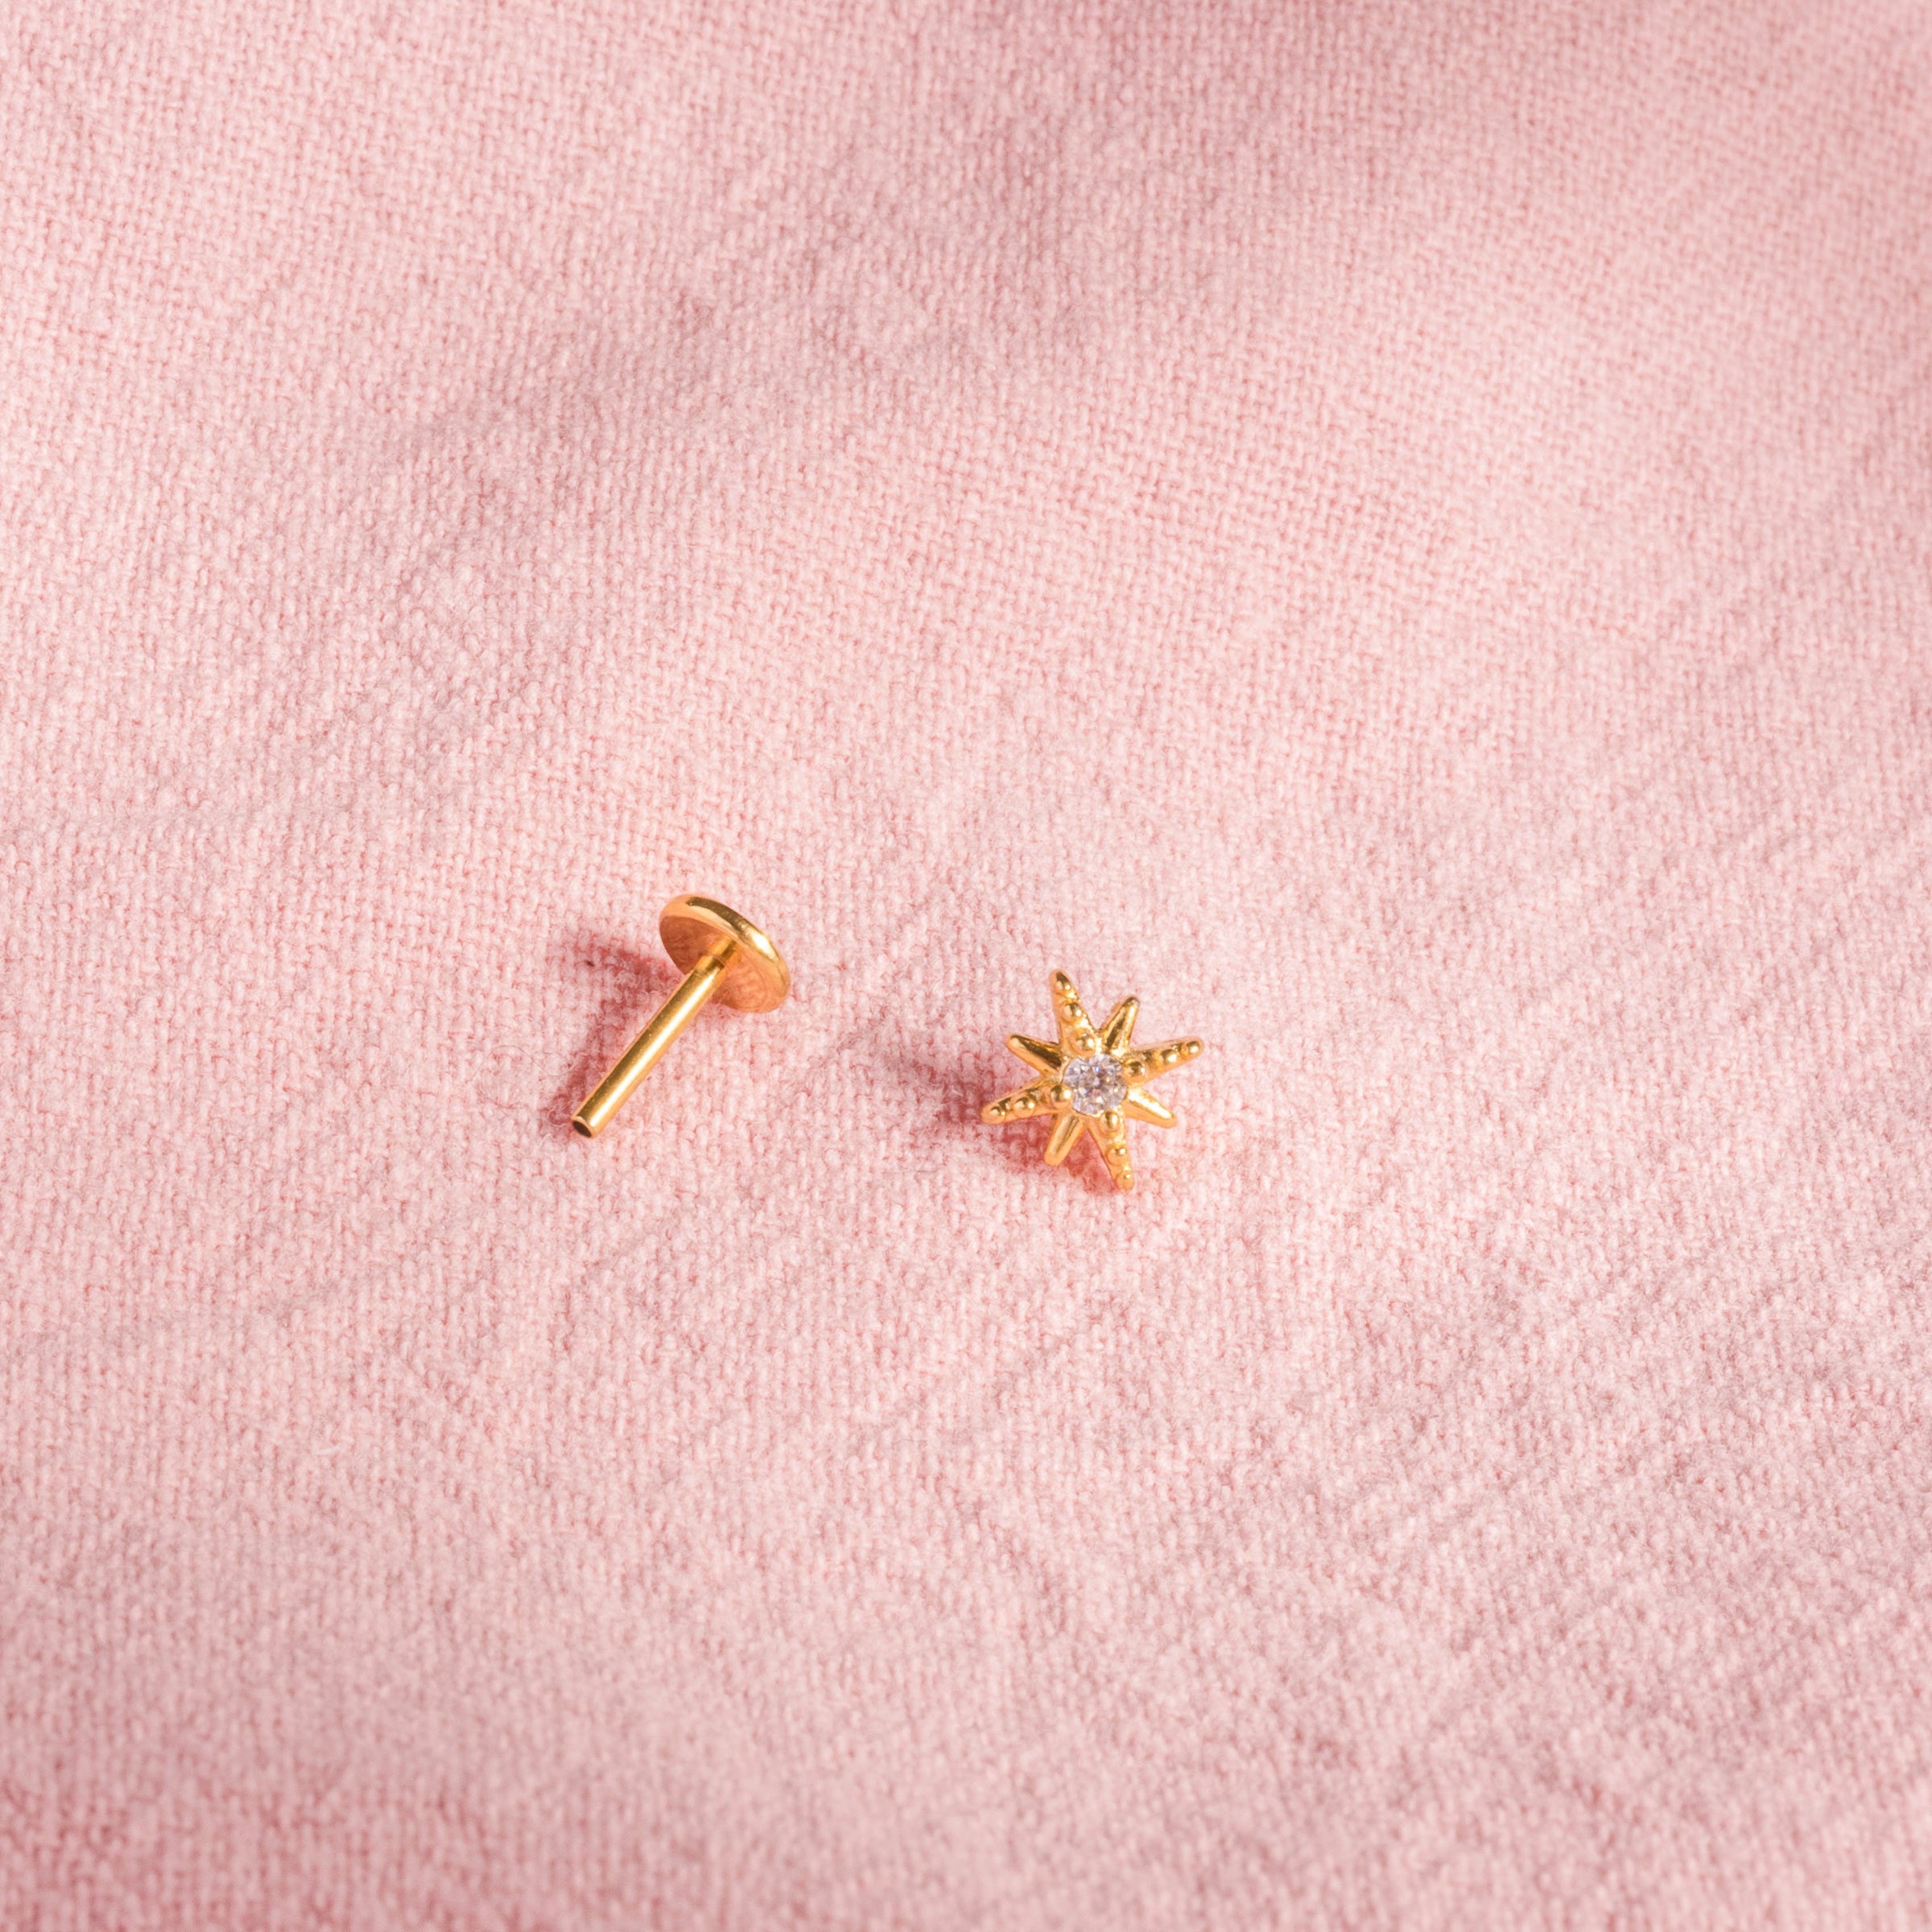
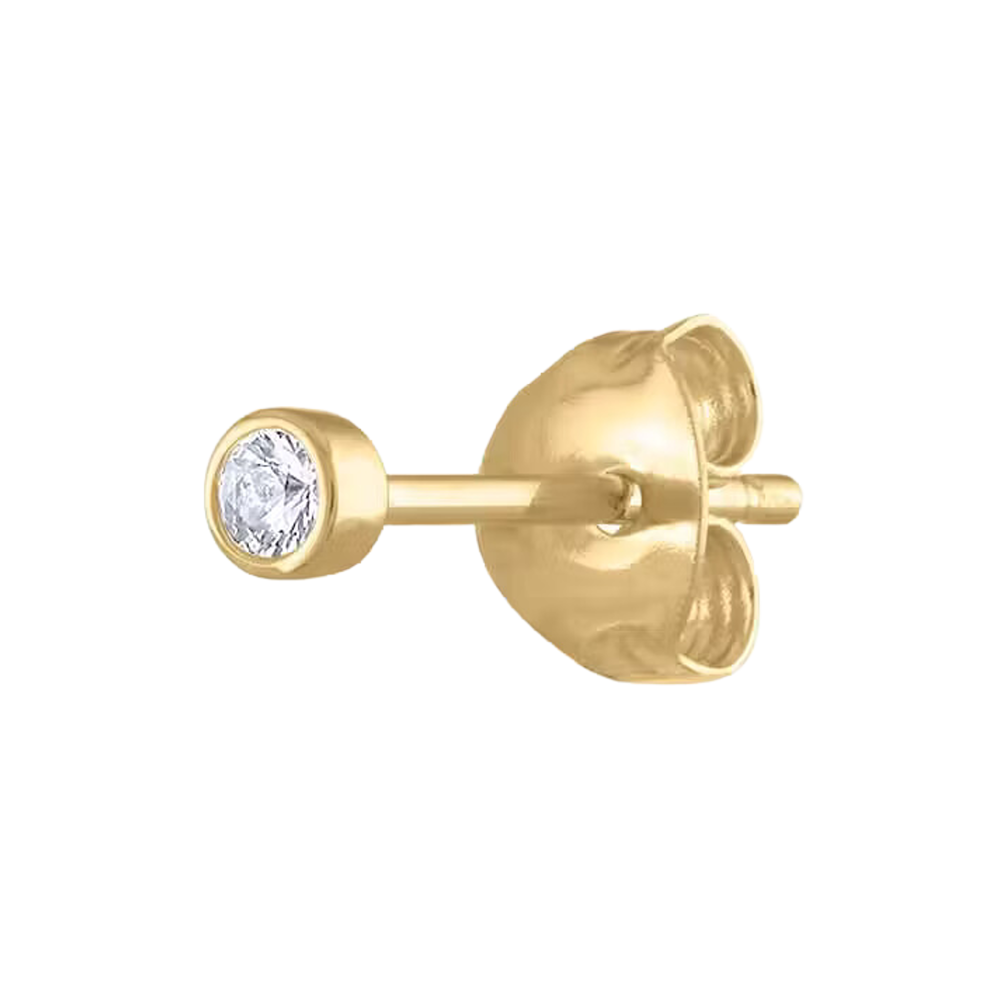
We love the labret back. Its flat shape offers comfort and minimal snagging while also reducing pressure and irritation while your piercing is healing. It's also super easy to clean.
This is a timeless go-to backing that offers a traditional feel. It slides onto the post and can be adjusted in terms of tightness or closeness to the ear.
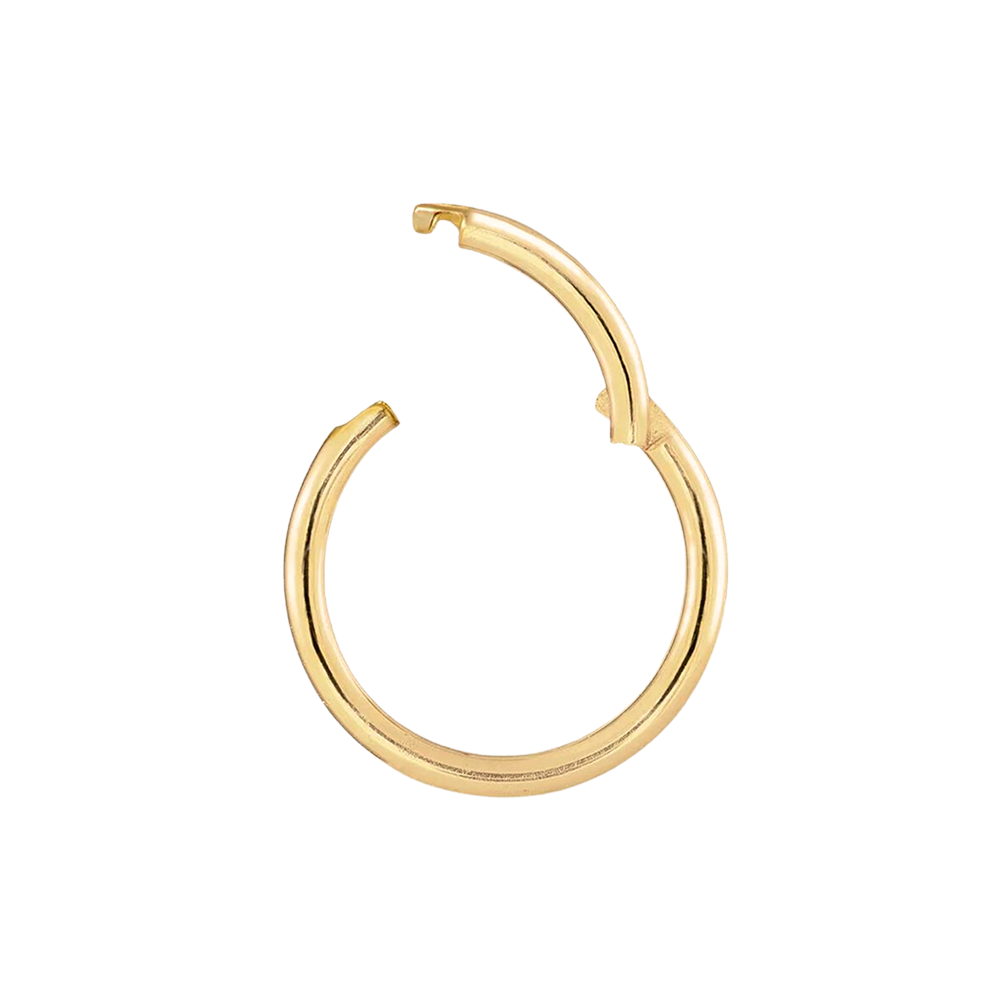
Active lifestyle and afraid of losing your earring? This one's for you! The clicker hoop does what its name says, it "clicks" into place, offering the most secure fit.
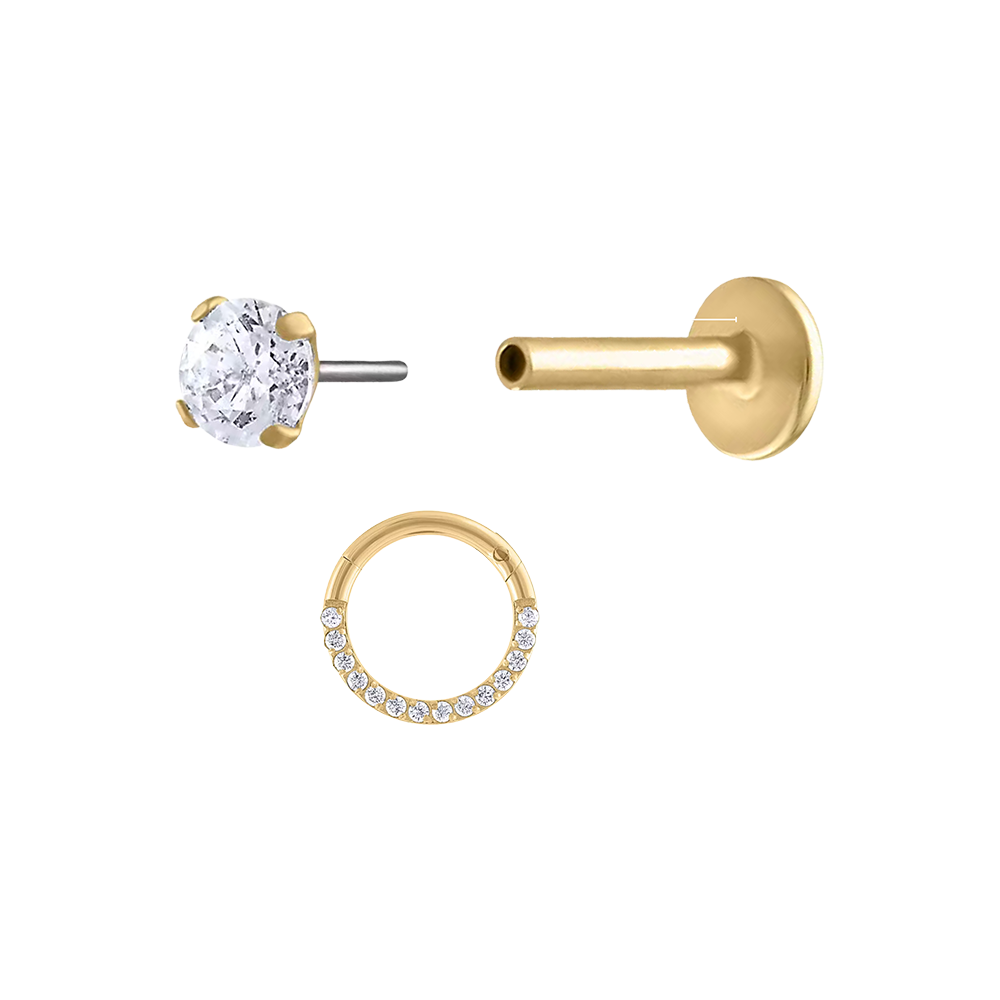
At Adorn512, we use a threadless labret piercing. With its flat-back design, there's no need for screws; it uses a convenient push-pin mechanism for effortless insertion. The threadless labret ensures botth comfort and a secure fit, offering an enjoyable wearing experience.
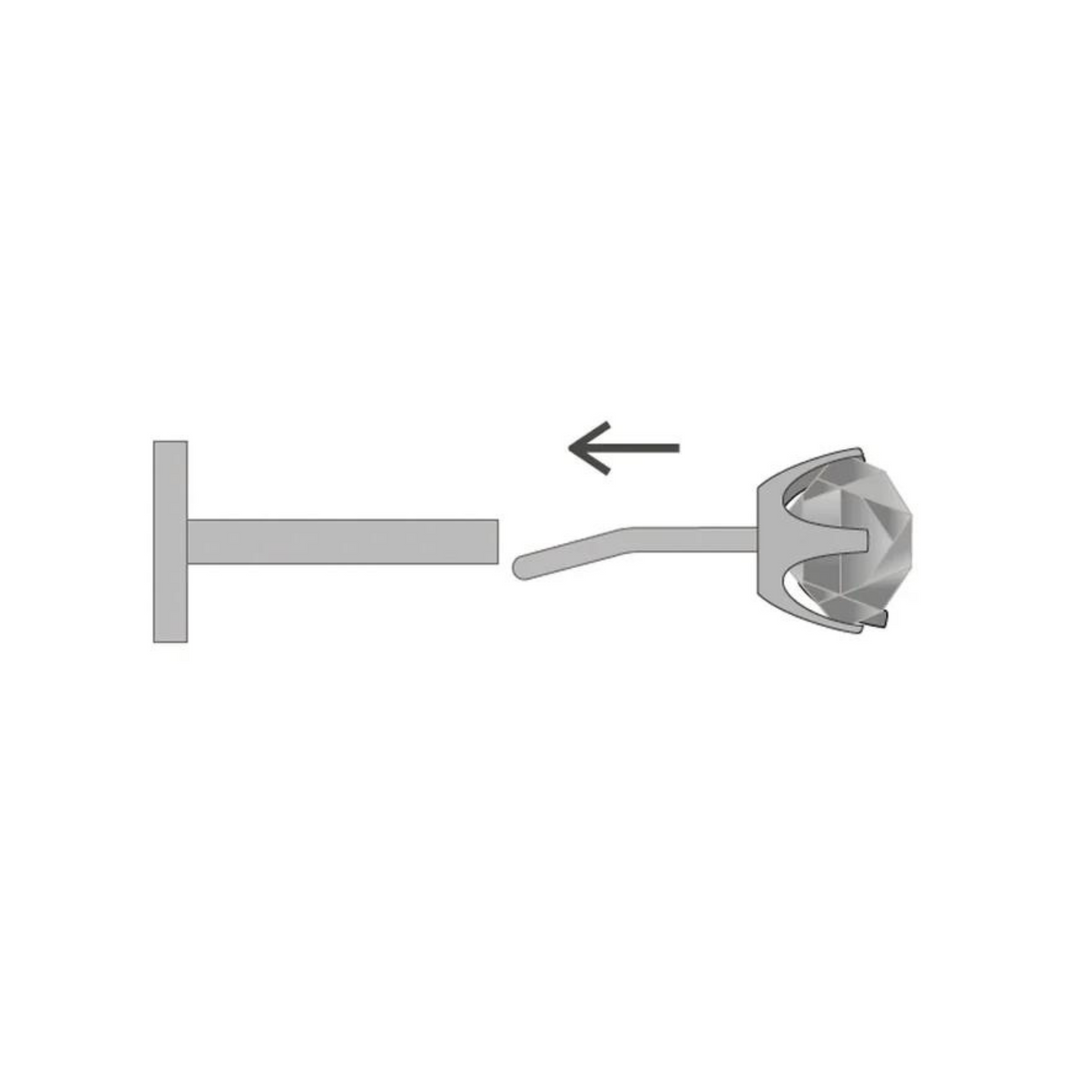
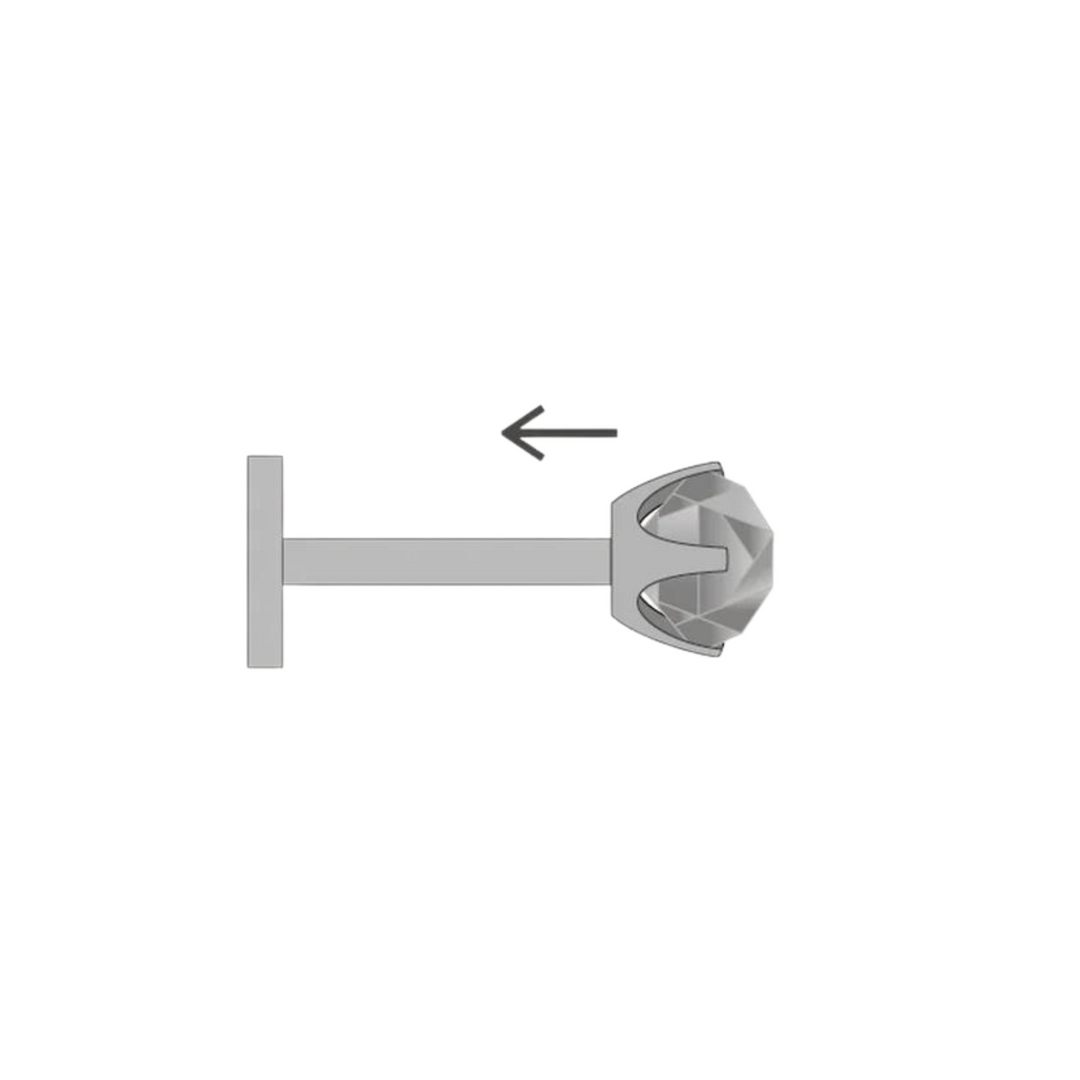
Insert the pre-bent pin about one-third of the way into the bar.
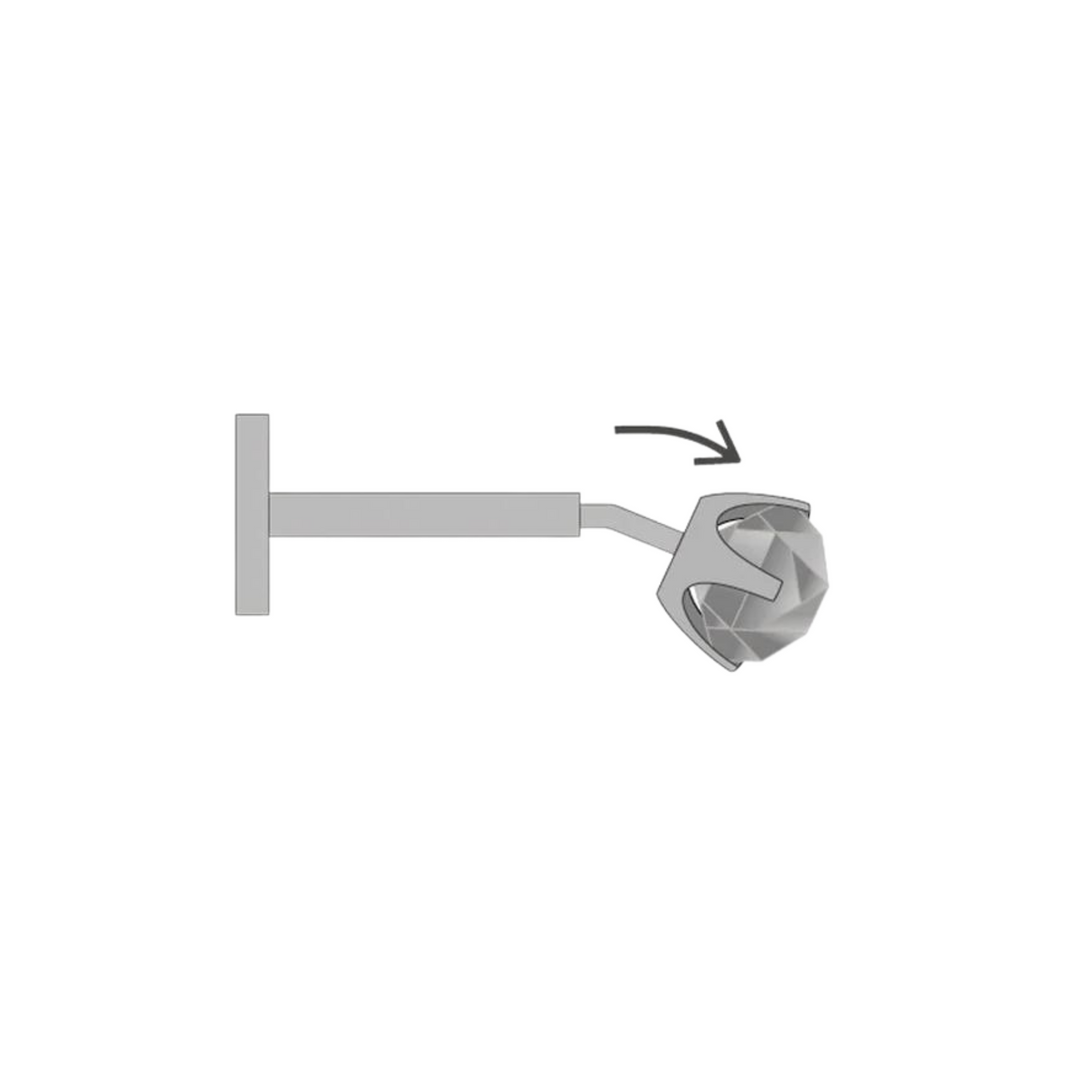
Once inserted, gently bend the pin downward. This helps create tension to secure it in place. The more you bend, the tighter the fit will be.
Push the remainder of the pin into the bar to secure it.
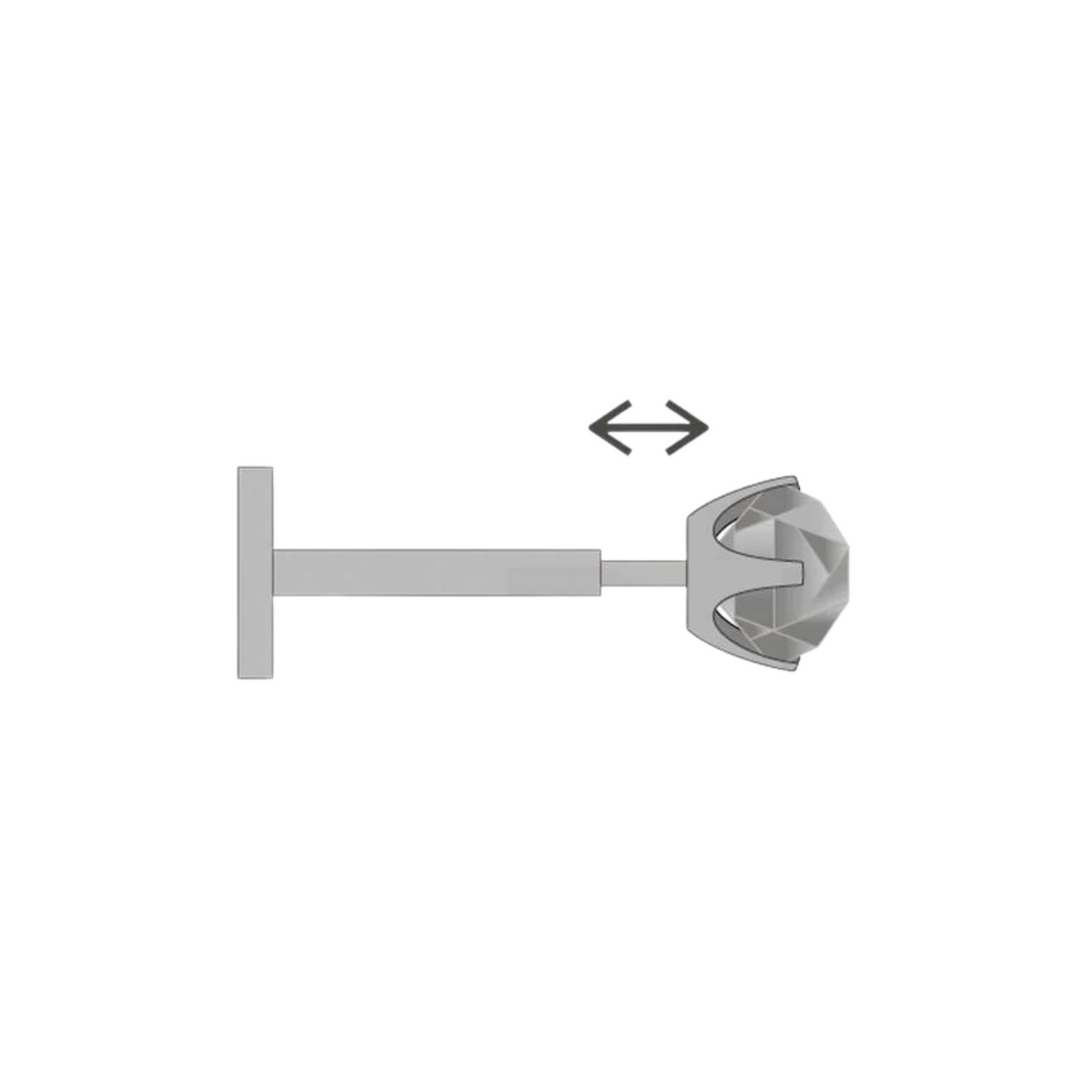
To remove the piercing, simply pull the ends apart. If the closure is tight, twist the pin head while pulling away from the bar.